
Why You Must Deep Clean Before the First Box Arrives
You just signed the closing papers or picked up the keys to your new rental. The space is empty, the echoes are satisfying, and all you want to do is start unloading the truck. But here is a cold, hard reality: your new home is likely covered in the “invisible” grime of the previous occupants. Statistics show that the average household carpet can hold up to 200,000 bacteria per square inch—that’s 4,000 times grimmer than a toilet seat. Even if the sellers left the place looking “broom clean,” they likely didn’t scrub the dust off the top of the ceiling fan blades or disinfect the inside of the dishwasher filter.
Deep cleaning an empty house is 5x faster than cleaning around furniture. You have a golden window of 24 to 48 hours before the movers arrive to sanitize every surface without moving a single couch. In this guide, we’re going to walk through a room-by-room battle plan that ensures your new sanctuary is actually a clean slate. We’ll talk about the specific chemicals that kill 99.9% of germs, the tools you absolutely need, and the “Hidden Grime Zones” that 90% of movers miss.
The Essential Move-In Deep Cleaning Kit
Before you head to the new house, grab a dedicated “Cleaning Day” bin. If you’re buying these supplies new, expect to spend between $60 and $120 for a complete professional-grade kit. Do not rely on a single bottle of “all-purpose” spray; different surfaces require different pH levels to avoid damage.
Your Checklist of Supplies:
- The Power Tools: A vacuum with a HEPA filter (crucial for dander and dust mites), a steam mop (kills bacteria without chemicals), and a microfiber spin mop.
- The Chemicals: An enzyme-based cleaner (for pet odors), a degreaser (for the kitchen), a pH-neutral floor cleaner, and a 70% isopropyl alcohol solution for high-touch points.
- The Disposables: At least 20 microfiber cloths (color-code them: blue for glass, red for bathrooms), Magic Erasers, and heavy-duty scrubbing sponges.
- Personal Protection: Nitrile gloves and a N95 mask if the house has been vacant and dusty—disturbing old dust can trigger massive allergy flares.
Starting High: Ceilings, Fans, and Walls
The cardinal rule of deep cleaning is top-to-bottom. If you vacuum the floors first and then wipe down the ceiling fans, you’ve just wasted an hour as dust rains down onto your clean carpet.
Start by dusting the corners of every room for cobwebs using a long-reach duster. Pay special attention to the “Dust Traps”:
- Ceiling Fan Blades: Use an old pillowcase. Slip it over the blade and pull—the dust stays inside the bag instead of hitting your face.
- Light Fixtures: Glass globes are often filled with dead insects and years of soot. Remove them, wash them in the sink with warm soapy water, and dry them completely before re-installing.
- The Walls: You’d be surprised how much skin dander and cooking oil clings to walls. Using a flat mop with a slightly damp microfiber pad, wipe the walls. For scuff marks, use a Magic Eraser, but test a small area first to ensure you don’t strip the paint sheen.
Pro Tip: This is the best time to change your HVAC filters. A MERV 11 or 13 filter costs about $15-$25 and will trap 90% of the dust kicked up during your move, protecting your lungs and your furnace.
The Kitchen: Degreasing the “Heart of the Home”
The kitchen is statistically the dirtiest room in any house. E. coli and salmonella can live on hard surfaces for several days, and grease buildup is a major fire hazard.
- Inside Oven: remove racks/grease.
- Professional Method: use a fume-free cleaner; let sit for 2 hours.
- Dishwasher: clean the filter.
- Professional Method: remove the bottom rack, unscrew filter, scrub with a toothbrush.
- Refrigerator: sanitize coils & bins.
- Professional Method: vacuum the back coils (improves efficiency by 30%); wash bins in soapy water.
- Cabinets: degrease tops/insides.
- Professional Method: use a 1:1 mixture of Dawn dish soap and water to cut through cooking film.
Don’t forget the “Hidden Three” in the kitchen:
- The range hood filter: These are usually metal meshes. Soak them in boiling water and OxiClean for 20 minutes to dissolve built-up grease.
- Behind the fridge: Pull the fridge out. You will likely find a “dust bunny graveyard.” Vacuuming this area can extend the life of the compressor by years.
- The Sink Flange: The black rubber ring in your garbage disposal is a breeding ground for mold. Scrub it with a brush and baking soda.
Sanitize the Bathrooms: Beyond the Surface
In a bathroom, “visually clean” is not “microbiologically clean.” You are dealing with the previous owner’s bio-matter.
- The Toilet: Don’t just wipe the seat. Use a screwdriver to pop the plastic caps and remove the seat entirely. This is where the most “hidden” odors live. Replace the old seat with a new one for roughly $25-$40—it’s the best investment for peace of mind.
- The Showerhead: If the water pressure seems low, the showerhead might be filled with mineral scale and biofilm. Tie a plastic bag filled with white vinegar around the head and leave it overnight to dissolve the buildup.
- Large Surfaces: Use a bleach-based cleaner or a hospital-grade disinfectant on the tub and tiles. Let the cleaner “dwell” (sit wet) for at least 10 minutes to actually kill viruses and bacteria.
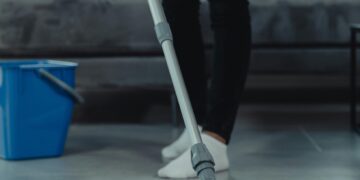
Flooring Restoration: Carpets and Hardwoods
Do not trust a “just vacuumed” carpet. Rental-grade carpet cleaners (like Rug Doctor) cost about $35-$50 per day to rent from local hardware stores. Using one can pull gallons of black, murky water out of a carpet that “looked clean.”
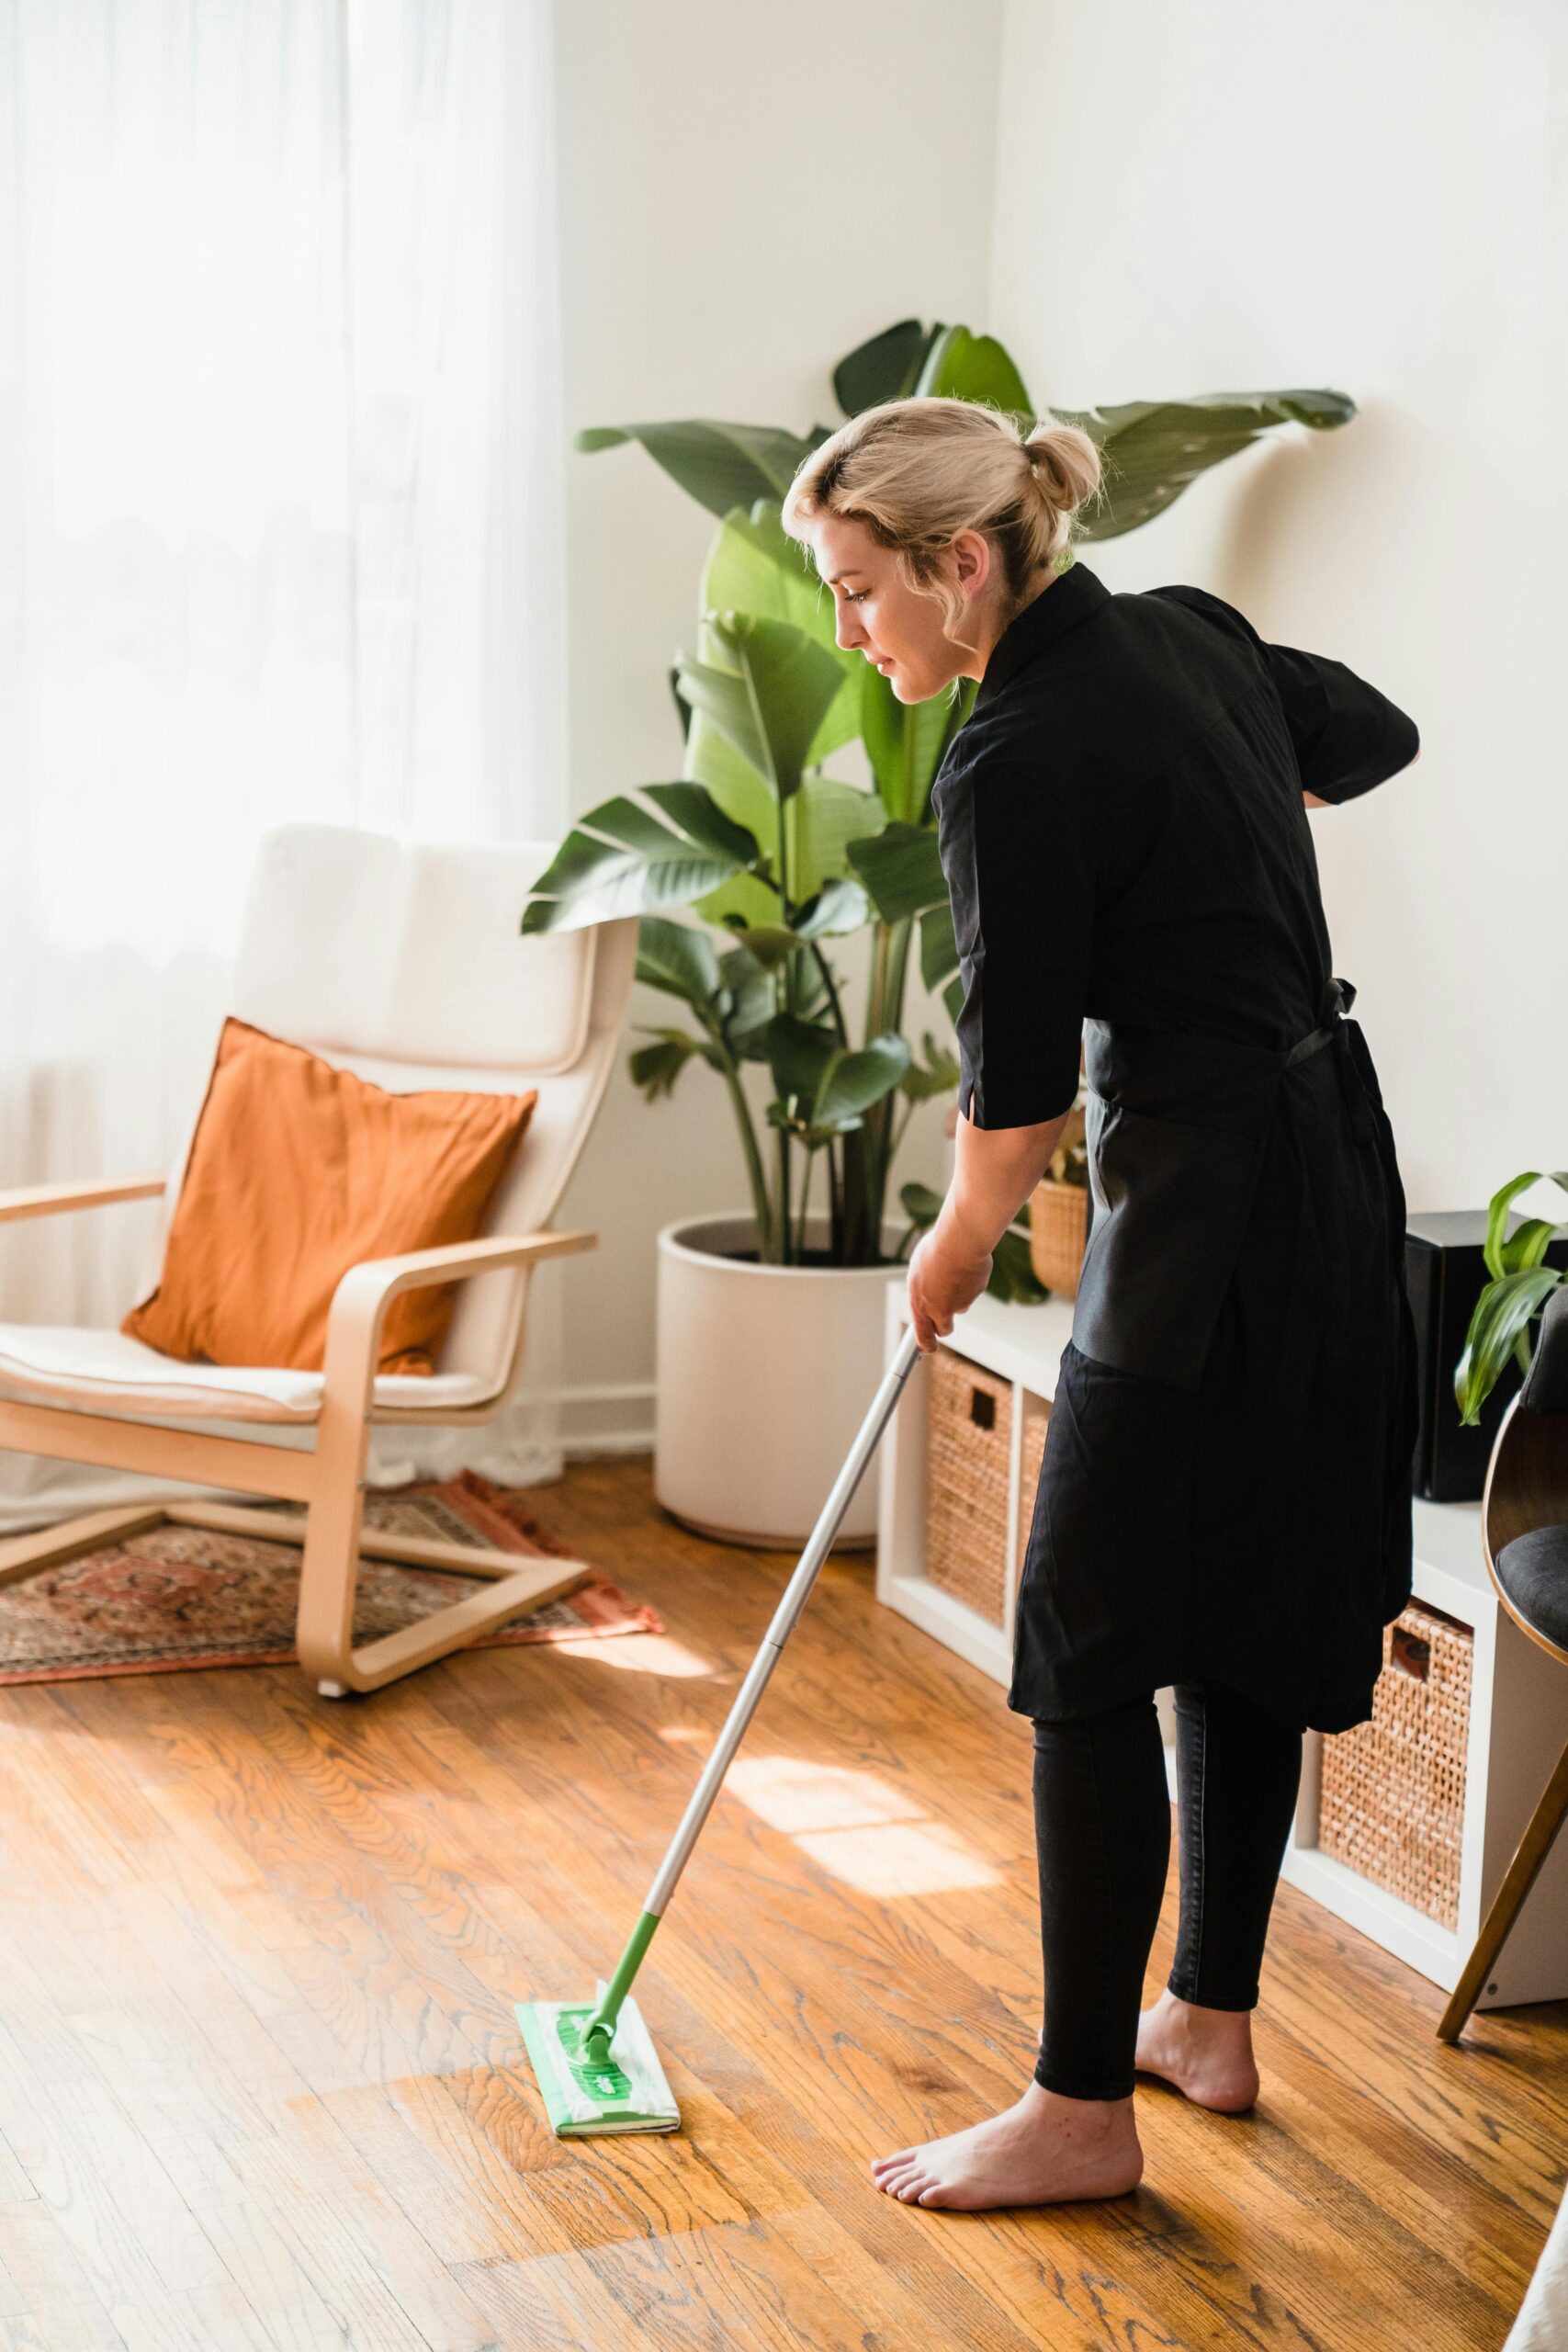
For Hardwood Floors:
Avoid using excessive water, which can cause warping. Use a specialized wood cleaner (like Bona) and a microfiber mop. If the floors are dull, a “refresher” coat can fill in light scratches for about $20 a bottle, making the home look renovated before the furniture hides the floor.
The Baseboard Secret:
Moving is the only time you’ll have easy access to every inch of baseboard. Wipe them down with a mixture of warm water and fabric softener. The fabric softener creates an anti-static barrier that repels dust for months.
The “High-Touch” Final Sweep
Before you officially “hand over” the home to your family, do a 20-minute sweep of the high-touch points. These are the areas touched dozens of times a day but rarely cleaned:
- Light switches and plates: Use a damp (not dripping) cloth with rubbing alcohol.
- Doorknobs and deadbolts: Especially the front door.
- Window latches and pulls.
- Thermostat buttons.
- Garage door openers.
Summary: Your Move-In Timeline
Deep cleaning a 2,000-square-foot home solo will take approximately 8 to 12 hours of hard labor. If you are hiring professionals, a “Move-In Deep Clean” typically costs between $250 and $600 depending on the square footage and level of grime.
Next Steps Checklist:
- Phase 1 (Day 1 Morning): Ceilings, fans, walls, and windows.
- Phase 2 (Day 1 Afternoon): Kitchen appliances and cabinet interiors.
- Phase 3 (Day 1 Evening): Bathroom sanitization and toilet seat replacement.
- Phase 4 (Day 2 Morning): Carpet steaming and hard floor polishing.
- Phase 5 (Day 2 Afternoon): HVAC filter change and final “High-Touch” sweep.
By investing this time upfront, you ensure that the first night you spend in your new home is actually restful, knowing you aren’t sharing your space with the microscopic remnants of the past. Grab your gloves—it’s time to do some deep cleaning make this house a home.
Get more moving tips and tricks here.