
- Start packing 6–8 weeks before your move date, not the week before.
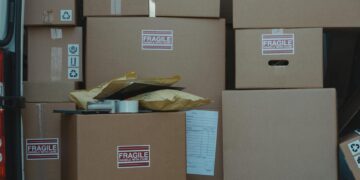
- Pack room by room, always labeling boxes on the sides — not the top.
- Use a color-coding system to make unloading at your new home dramatically faster.
- Pack heavy items in small boxes; light items in large boxes.
- The first box you pack should be the last one you unload — fill it with moving-day essentials.
- Declutter before you pack, not after — you’ll save time, money, and truck space.
Packing for a move is one of those tasks that seems straightforward until you’re surrounded by half-filled boxes at 11 p.m. the night before the truck arrives, wondering how you accumulated this much stuff. I’ve been there. Most people underestimate packing by about two weeks and overestimate how much one box can hold by about thirty percent.
The good news: packing for a move is entirely learnable, and a solid step-by-step system makes the difference between a chaotic move and one you actually feel good about. This guide walks you through the entire process — from the first box you tape up weeks before your move to the last item loaded onto the truck. Follow it in order and you won’t be improvising at the worst possible moment.
How Far in Advance Should You Start Packing?
The single most common packing mistake is starting too late. Most people who reported a stressful move said they wished they had started packing earlier. The average household underestimates the time needed to pack by over a week.
Here’s a realistic timeline based on home size:
- Studio or 1-bedroom apartment: Start 3–4 weeks out
- 2–3 bedroom home: Start 6–8 weeks out
- 4+ bedroom home: Start 10–12 weeks out
- Long-distance or cross-country move: Add 2 extra weeks to any of the above
The reason most people start late is psychological — packing makes the move feel real, and there’s a natural tendency to delay it. Resist that. The earlier you start, the more you can pace yourself, the more thoughtfully you’ll declutter, and the less you’ll pay for rushed packing supplies.
Packing Supplies You Actually Need (And What to Skip)
Before you pack a single item, you need the right materials. Winging it with old grocery bags and whatever boxes you grabbed from behind the liquor store is a recipe for broken belongings and a chaotic unload.
Essential Supplies
- Moving boxes in multiple sizes: Small (1.5 cu ft), medium (3 cu ft), large (4.5–6 cu ft), and wardrobe boxes for hanging clothes. A 3-bedroom home typically needs 60–80 boxes total.
- 2–3 inch packing tape with a dispenser: Buy more than you think you need. The dispenser is worth every penny — hand-tearing tape adds hours to a move.
- Packing paper: Unprinted newsprint. At least 10 lbs for a typical 2-bedroom.
- Bubble wrap: For genuinely fragile items — dishes, glassware, artwork, electronics.
- Permanent markers: Buy a 4-pack. They disappear constantly.
- Color-coded labels or colored tape: One color per room. This is not optional — more on this below.
- Stretch wrap (furniture wrap): Protects furniture legs, keeps drawers shut, wraps upholstered items.
- Mattress bags: One per mattress. These are inexpensive [affiliate: mattress-bags-homemovingsecrets-20] and the single best thing you can do to protect a mattress during a move.
What to Skip
- Packing peanuts: They shift during transit, don’t hold items in place, and make a mess. Packing paper is more effective and easier to dispose of.
- Extra-large boxes for everything: The most common DIY packing mistake. A box packed with books will break a back and potentially the box. Large boxes are for pillows, linens, and lampshades — not anything dense.
- Rope or twine to tie boxes: Tape everything. Rope is unreliable and slows down the loading process.
Where to Get Free or Cheap Boxes
Buying all new boxes for a large move can cost $150–$300. Before you spend that, check:
- Facebook Marketplace and Nextdoor: People give away post-move boxes constantly. Search “moving boxes free” in your area.
- Liquor stores: Their boxes are double-walled (to hold heavy bottles) and perfectly sized for books and kitchen items. Call ahead — they’re usually happy to save them.
- Bookstores and copy shops: Sturdy, uniform-size boxes, often free for the asking.
- Your workplace: Office copy paper boxes are some of the strongest free boxes available.
Declutter Before You Pack — Not After
Here’s a rule worth tattooing on your moving binder: you pay to move everything you don’t throw away. Whether you’re hiring movers or renting a truck, the cost scales directly with how much you’re transporting. Customers who declutter before packing save significantly on moving costs, primarily from needing a smaller truck or fewer hours of labor.
Go room by room with three categories:
- Keep: Used in the last 12 months, has clear purpose at the new home
- Donate/Sell: Good condition but not needed; post on Facebook Marketplace or drop at Goodwill
- Trash: Broken, expired, or not worth donating
Be ruthless with the following categories, which people consistently over-move:
- Books (keep favorites; donate the rest to your local library)
- Kitchen gadgets used fewer than 3 times per year
- Clothes that haven’t been worn in 18 months
- Duplicates of anything — two can openers, three sets of measuring cups, four flashlights
- Old electronics and their associated tangled cables
- Anything stored in a garage or attic that you forgot you owned
A practical approach: do your declutter pass before buying packing supplies. Once you know what you’re actually moving, you’ll buy the right amount of boxes — not too many, not too few.
Set Up Your Color-Coding System Before You Pack Box One
A color-coding system assigns one color to each room in your new home. Every box going to that room gets a colored label, piece of tape, or marker stripe. When movers or helpers are unloading, they don’t need to read — they just match colors. This single system can cut your unloading time in half.
Pick your colors before you start packing:
- Red: Kitchen
- Blue: Master bedroom
- Green: Living room
- Yellow: Bathrooms
- Orange: Kids’ rooms
- Purple: Office/study
- Pink: Guest room
- Black: Garage/storage
Print a simple color-key poster and tape it to the front door of your new home on moving day. Anyone carrying boxes will know exactly where to go without asking.
Colored packing tape is the easiest implementation — just use a different tape color per room. Colored dot labels also work well and take up less space on the box for additional writing.
Step-by-Step: How to Pack Each Room
The general rule is to pack rooms you use least first and rooms you use most last. That means you’re still functioning normally at home right up until moving week, and the final push is manageable rather than overwhelming.
Step 1: Start With Storage Areas (6–8 Weeks Out)
Attics, basements, garages, and storage closets. These areas contain items you aren’t using daily, which makes them low-disruption to pack early. They also tend to hold the most surprises — the things that take longest to sort, donate, or dispose of. Tackle them first when you have time and energy to make good decisions.
- Pack seasonal items (holiday decorations, off-season sports equipment) first
- Photograph the contents of unmarked boxes before sealing them
- Do not move anything broken or with mold — moving day is not the time to deal with it at the other end
Step 2: Pack Guest Rooms and Formal Spaces (5–6 Weeks Out)
Dining rooms, formal living rooms, guest bedrooms, and home offices are used infrequently enough that you can pack them weeks out without disrupting daily life.
- Books: Pack in small boxes only. A medium box of books can exceed 60 lbs.
- Framed art and photos: Wrap each piece in packing paper, then bubble wrap for larger pieces. Stand vertically in boxes — never flat.
- Office files and documents: Box these in a clearly labeled “Open First” box or keep them in your personal vehicle during the move.
Step 3: Pack Bedrooms (3–4 Weeks Out)
Start with clothing you’re not wearing this season. Then work through closets, dressers, and nightstands.
- Wardrobe boxes keep hanging clothes wrinkle-free and load/unload in seconds. Worth renting or buying for dress clothes and suits.
- Leave 7–10 days of clothing accessible in a suitcase — don’t pack it into boxes.
- Dresser drawers can often stay packed with clothes if the dresser is being moved — just remove the drawers and wrap them in stretch wrap to keep them shut during transport. Check with your movers first.
- Bedding: Pack all but one set per bed. The last set goes in a clearly labeled box that gets loaded last and unloaded first.
Step 4: Pack Bathrooms (2 Weeks Out)
Bathrooms have a lot of small, liquid-containing items that require specific handling.
- Seal all liquid bottles (shampoo, lotion, cleaning products) in zip-lock bags before boxing — one leak can ruin an entire box
- Check expiration dates; moving is a natural audit point for old medications and expired products
- Do NOT pack medications in the moving truck — keep them in your personal vehicle or carry-on bag
- Do NOT move flammable items: aerosols under pressure, nail polish remover, rubbing alcohol in large quantities. Check your mover’s prohibited items list.
Step 5: Pack the Living Room (1–2 Weeks Out)
Electronics, decorative items, and media collections.
- Electronics: Original boxes are ideal. If you don’t have them, photograph cable connections before unplugging and use zip-lock bags to keep remotes and cables with their devices.
- TV: Never lay flat in a truck — the internal components can crack. Pack vertically or transport in your own vehicle.
- Books, DVDs, games: Small boxes only.
- Decorative items: Wrap each piece individually. Nest items inside each other when shapes allow (e.g., smaller bowls inside larger bowls, cushioned with packing paper).
Step 6: Pack the Kitchen (Final Week)
The kitchen takes longer than most people expect — typically 4–8 hours for a standard kitchen — because of the fragility and density of items involved. Give it a dedicated day.
- Dishes: Pack vertically like records, not stacked flat. This dramatically reduces breakage. Wrap each dish individually.
- Glasses: Individual wrapping, packed upright, with packing paper crumpled at the bottom and top of the box for cushioning
- Pots and pans: Nest together with packing paper between each to prevent scratching. These are heavy — use small or medium boxes only.
- Small appliances: Wrap in packing paper, secure cords with rubber bands, and box with the same size-to-weight logic
- Pantry items: Seal open packages in zip-lock bags. Don’t move anything you wouldn’t bother unpacking — donate non-perishables to a food bank before moving day.
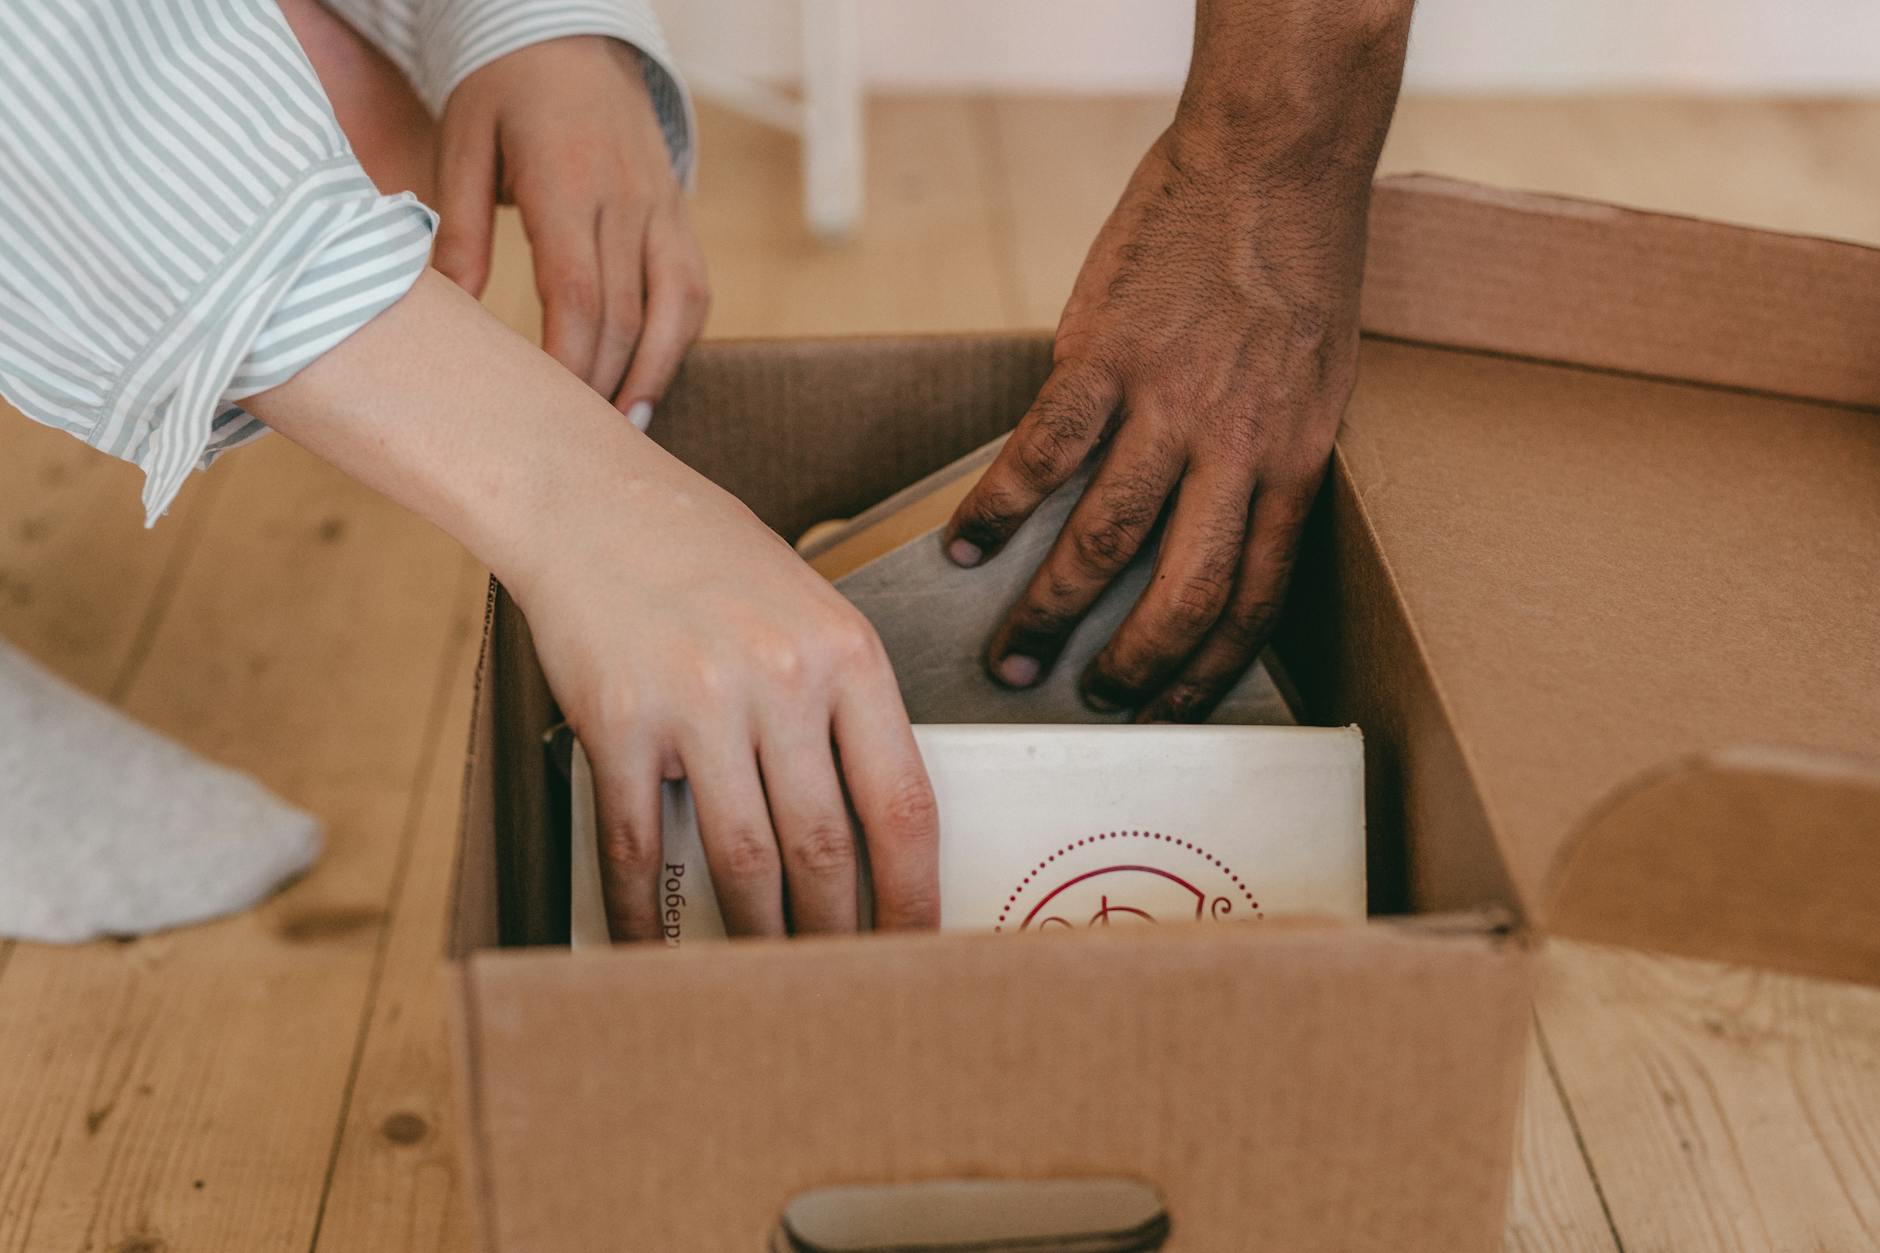
How to Pack a Box Correctly (The Mechanics)
Knowing which room to tackle is only half the equation. The other half is how you physically pack each box. Poor box technique leads to crushed items, broken contents, and boxes that collapse during transport.
The Right Way to Build a Box
- Run tape along every seam — including the side seams, not just the center. A properly taped box should have an H-pattern of tape on both the bottom and the top.
- Reinforce the bottom of every box with at least two strips of tape. This is where boxes fail under heavy loads.
- Line the inside bottom with crumpled packing paper before placing any items.
Weight Distribution Rules
- Small boxes (1.5 cu ft): Books, tools, canned goods, heavy kitchen items. Maximum ~30 lbs.
- Medium boxes (3 cu ft): Pots and pans, small appliances, toys, shoes. Maximum ~50 lbs.
- Large boxes (4.5–6 cu ft): Pillows, linens, lampshades, light clothing. Maximum ~65 lbs — but only when the items themselves are light.
A box that’s too heavy is a safety risk for movers and a box failure risk in transit. If you can’t lift it comfortably with both hands, it’s too heavy.
Filling Boxes Completely
This is one of the least-discussed but most important packing rules: every box should be filled completely to the top. Partially filled boxes collapse under weight when stacked in the truck. Fill any empty space with crumpled packing paper, clothing, towels, or linens. The box should not flex inward when you press on the top.
Labeling Boxes Correctly
Label every box on at least two sides — never just the top. When boxes are stacked in a truck or storage unit, the top label is inaccessible. Side labels are always visible.
Each label should include:
- Destination room (in color-coded tape or colored marker)
- General contents (e.g., “Kitchen — pots and pans”)
- Priority (write “OPEN FIRST” in red marker on boxes you’ll need immediately)
- Fragile designation (circle it, add arrows pointing up, use red marker — be obvious)
How to Pack Fragile Items So They Actually Survive
The number one cause of breakage during a move isn’t rough handling — it’s under-packing. Items that shift around inside a box during transit collide with each other and with the box walls. The goal is zero movement inside a fully sealed box.
The Newspaper Myth
Printed newspaper seems like a free and obvious choice for wrapping breakables. Don’t use it. The ink transfers onto light-colored items, dishes, and glassware and can be difficult or impossible to remove. Use unprinted packing paper — it costs about $25 for a 10-lb roll and won’t stain anything.
Dishes
- Wrap each plate or bowl individually in packing paper — at least 3 sheets per item
- Pack vertically on edge, like records in a crate, with crumpled paper between each one
- Fill all empty space at the top and sides with crumpled paper
- The box should make no sound when you shake it gently — if things shift, add more paper
Glasses and Stemware
- Stuff the inside of glasses with crumpled packing paper first
- Wrap the outside in 2–3 sheets of packing paper
- Pack upright, never inverted
- Glass packing dividers are worth using for wine glasses or any stemware — they prevent contact between items entirely
Artwork and Mirrors
- Use painter’s tape to make an X across the glass before wrapping — if it breaks, this holds the shards together
- Wrap in packing paper, then bubble wrap
- Use picture boxes or custom-size boxes when possible
- Transport mirrors and large framed art vertically — never flat
- Valuable artwork should travel in your personal vehicle, not the moving truck
Pack an Essentials Box — And Make It the Last Thing on the Truck
The essentials box (sometimes called a “first night box” or “open first box”) is the most important box you’ll pack. It contains everything you need to function on moving day and your first night in the new home — before you’ve unpacked a single other thing.
Pack this box last, load it last, and unload it first. Label it clearly in red: “OPEN FIRST.”
What goes in the essentials box:
- Toilet paper (you will need this within minutes of arriving)
- Hand soap and a small towel
- Phone chargers
- Medications and first aid basics
- One set of sheets and a pillow per person sleeping in the new home the first night
- Coffee supplies (if you’re a coffee drinker, this is non-negotiable)
- Paper plates, cups, plastic utensils for moving-day meals
- Snacks and water bottles
- A change of clothes per person
- Basic toolkit: box cutter, screwdriver, wrench for reassembling furniture
- Important documents: lease, closing papers, IDs, insurance cards
- Kids’ comfort items and a toy or two if you have children
- Pet food and supplies if you have pets
Some people prefer to keep this as a suitcase or bag rather than a box, so it travels in the personal vehicle rather than the truck. Either approach works — the key is that it’s separate, accessible, and not buried under 80 other boxes in the truck.
What Not to Pack in the Moving Truck
Certain items should never go in a moving truck, either for safety reasons or because they’re irreplaceable if lost or damaged.
Safety-Restricted Items
Professional movers are legally prohibited from transporting certain items, and for good reason — they present fire, leak, or hazmat risks in an enclosed truck:
- Propane tanks (even “empty” ones)
- Gasoline, kerosene, lighter fluid
- Ammunition and fireworks
- Pesticides and fertilizers
- Pool chemicals
- Car batteries
- Paints and paint thinners
Dispose of these properly before your move. Most communities have household hazardous waste drop-off events. Check Earth911.com for locations near you.
Items That Should Travel With You
- Irreplaceable documents: birth certificates, passports, Social Security cards, financial records
- Medications — both prescription and over-the-counter you rely on
- Jewelry and high-value small items
- Cash
- Laptops and external hard drives
- Children’s comfort items
- Pets
- Plants (many movers won’t transport them; temperature extremes in a truck can kill them quickly)
Complete Packing Timeline: Week by Week
Here’s how a 6-week packing timeline looks for a 2–3 bedroom home:
6 Weeks Out
- Begin decluttering: attic, basement, garage, storage closets
- Order packing supplies (or start sourcing free boxes)
- Set up your color-coding system
- Start a moving binder or folder with important documents
5 Weeks Out
- Pack guest rooms, formal dining, and storage areas
- Donate or sell decluttered items — don’t let them sit
- Photograph all electronics and cable setups before unplugging
4 Weeks Out
- Pack home office, books, and media collections
- Arrange to transfer or cancel utilities at your current address
- Begin notifying important contacts of your address change
3 Weeks Out
- Pack bedrooms (off-season and non-essential items)
- Pack living room decorative items and non-essential electronics
- Confirm moving company or truck rental booking
2 Weeks Out
- Pack bathrooms (leave out only what you need daily)
- Pack remaining bedroom items, leaving 7–10 days of clothing accessible
- Dispose of hazardous household items you can’t move
1 Week Out
- Pack the kitchen (allow a full day)
- Pack living room and remaining items
- Disassemble furniture that needs to be broken down
- Confirm moving day logistics: parking, elevator reservations, access codes
Moving Day
- Pack your essentials box last
- Do a final walk-through of every room, closet, cabinet, and outdoor space
- Check: attic, basement, garage, outdoor furniture, storage units
- Take meter readings and photograph the condition of your old home
The Most Common Packing Mistakes (And How to Avoid Them)
Most packing errors follow predictable patterns. Knowing them in advance means you won’t make them.
- Starting too late: The most common and most damaging mistake. Set your start date right now — mark it on the calendar.
- Mixing rooms in boxes: One room per box, always. “Miscellaneous” boxes become black holes at the other end. If a room’s box isn’t full, fill it with packing paper — don’t combine rooms.
- Not labeling clearly enough: “Kitchen stuff” tells movers almost nothing. “Kitchen — pots and pans — HEAVY” tells them exactly what they need to know.
- Over-packing large boxes: If it takes two people to lift, it’s too heavy. Break it into two boxes.
- Packing items you should declutter: Every unnecessary item you pack is money spent moving something you didn’t need. Declutter first, always.
- Not taking photos before disassembly: Photograph furniture and electronics before you take them apart. You will thank yourself when reassembling at 9 p.m. in the new house.
- Forgetting to label “Fragile” clearly enough: If there’s any ambiguity, movers will treat the box like every other box. Use red marker, write it on every side, and add arrows indicating which end is up.
- Packing important documents in the moving truck: Keep anything irreplaceable with you in your personal vehicle.
Packing Products Worth Buying
Most packing supplies are inexpensive, but a few specific products make a significant difference in the quality of your pack and the safety of your belongings:
- Tape dispenser: Not optional. The dispenser saves hours over the course of a full-house pack and prevents wrist strain from hand-tearing tape.
- Mattress bags: An unsealed mattress in a moving truck collects grime, moisture, and odors. A mattress bag costs a few dollars per mattress and keeps it clean through the entire move.
- Stretch/furniture wrap: Invaluable for keeping furniture drawers closed, protecting upholstered items, and wrapping furniture legs. Buy a roll or two.
- Wardrobe boxes: If you have suits, dresses, or dress shirts, these pay for themselves in dry cleaning bills avoided [affiliate: wardrobe-boxes-homemovingsecrets-20].
- Glass cell dividers: If you have more than a dozen wine glasses or stemware pieces, these insert into a standard box and prevent contact between items entirely.
Should You Pack Yourself or Hire Professional Packers?
Professional packing services exist as an add-on to full-service moves. A typical packing service costs $25–$35 per hour per packer, or $150–$450 for a standard bedroom when bundled with a full-service move, according to Thumbtack’s 2024 Moving Cost Report (survey of 8,600 moves nationwide).
Professional packers are worth considering when:
- You have a large home and a short runway (less than 2 weeks)
- You have a significant amount of fragile or high-value items
- You’re moving long-distance and everything in the truck needs to be packed to higher standards
- You have physical limitations that make sustained packing difficult
DIY packing makes more sense when:
- You have 6+ weeks and can pace it over time
- You’re comfortable with the process (this guide covers everything you need)
- You want full control over how your belongings are wrapped and organized
- Budget is a priority
A middle approach worth considering: hire professional packers for your kitchen and fragile items only, and DIY the rest. This keeps costs down while protecting the items most likely to break.
The Final Walkthrough: Don’t Leave Anything Behind
Before the truck pulls away, every person making the move should do a complete final walkthrough of the property. Moving day is chaotic, and items get left behind constantly — especially in low-visibility areas.
Check every location on this list before closing the door for the last time:
- Every closet, including the top shelf and the floor
- Every cabinet in the kitchen and bathrooms, including under-sink cabinets
- The garage, including shelves and ceiling hooks
- The attic and/or basement
- The backyard: shed, patio furniture, garden tools, toys
- Any outdoor storage structures
- The mailbox
- Behind and under all appliances
- Inside the washer and dryer (people leave laundry behind constantly)
- The refrigerator — check the freezer separately
- Any wall-mounted items: mirrors, art, brackets, outdoor lighting
Once you’re satisfied, take photographs of each room showing the condition you’re leaving the property in. This protects your security deposit and documents the move-out state for any potential disputes.
Final Thoughts: Packing Is a Skill, Not a Sprint
The moves that go smoothly aren’t the ones where people worked harder — they’re the ones where people started earlier and packed smarter. A systematic, room-by-room approach with the right supplies, a clear color-coding system, and a realistic timeline transforms packing from a frantic last-minute scramble into a manageable project you can feel genuinely in control of.
Start with your storage areas this week. Buy or source your supplies before you need them. Set a color for each room. And remember that essentials box — it will be the best decision you made on moving day.
For more on what happens after the boxes are packed, read our guides on how to find the best moving company, essential items to keep handy on moving day, and our room-by-room packing checklist.
About the Author
For the past five years, I’ve owned and operated a moving and portable storage company, helping real people navigate one of the most stressful experiences there is—moving.
I’ve seen it all: last-minute packing chaos, broken boxes, missed timelines, and way too much bad advice online.
That’s exactly why I created Home Moving Secrets.
This site is built to give you simple, practical, no-BS moving advice that actually works—from packing smarter and saving money to staying organized from start to finish.
Everything here is based on real-world experience, not guesswork.
My goal? To help you move smarter, stress less, and feel in control every step of the way.
Last reviewed: April 2026